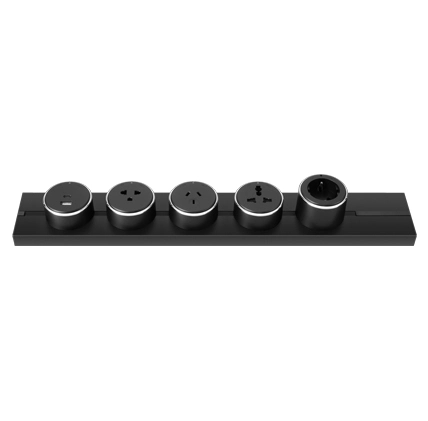
If you're considering upgrading your home's wall switches to European style, you may be wondering about the installation process. To help you navigate through the installation smoothly, we've prepared a step-by-step guide:
Gather the Tools and Materials
Determine the Switch Type European wall switches come in various types, including single-pole, double-pole, and dimmer switches. Identify the specific type you need for your installation.
Collect the Tools and Materials Make sure you have the following tools and materials ready:
European wall switch(es)
Screwdriver (usually a flat-head or Phillips-head)
Voltage tester
Wire stripper
Electrical tape
Wire connectors (also known as wire nuts)
Mounting screws
Junction box (if required)
Preparing for Installation
Turn off the Power Before beginning any electrical work, ensure your safety by turning off the power to the circuit you'll be working on. Locate the circuit breaker panel and switch off the corresponding circuit breaker.
Confirm Power Shutdown Using a voltage tester, verify that there is no electrical current flowing at the switch location. Safety should always be your priority during installation.
Removing the Existing Switch
Remove the Switch Cover Plate Using a screwdriver, carefully unscrew the screws holding the cover plate in place. Set aside the plate and screws for reassembly later.
Disconnect the Wiring Gently pull the old switch away from the wall, revealing the wiring connections. Observe and note the wire connections or use labels for reference. Unscrew the wire connectors to separate the wires from the old switch.
Installing the European Wall Switch
Prepare the Wires Using a wire stripper, remove approximately 1/2 inch (1.27 cm) of insulation from the ends of the wires. If necessary, trim any excess wire length.
Connect the Wires Refer to the specific wiring diagram provided with your European wall switch. Generally, the live wire (often colored black or brown) connects to the "L" terminal, while the neutral wire (typically blue) connects to the "N" terminal. If your switch has additional terminals for grounding or other purposes, consult the manufacturer's instructions.
Secure the Connections Twist the corresponding wires together clockwise and secure them using wire connectors (wire nuts). Ensure there are no exposed bare wires beyond the wire connectors. For added safety, wrap electrical tape around the wire connectors.
Mount the Switch Align the European wall switch with the mounting holes in the junction box or wall. Insert the provided screws and tighten them until the switch is securely fastened. Avoid over-tightening, as it may damage the switch or wall.
Final Steps and Testing
Attach the Switch Cover Plate Position the switch cover plate over the switch and align it with the screw holes. Insert the screws and tighten them until the plate is snug against the wall.
Restore Power and Test Turn the power back on at the circuit breaker panel. Test the newly installed European wall switch by toggling it on and off. Verify proper functionality and check for any issues, such as loose connections or unusual sounds.
In conclusion, installing European wall switches involves gathering the necessary tools, preparing the wiring, removing the existing switch, connecting the new switch, mounting it securely, and conducting thorough testing. If you encounter any difficulties or are uncertain about any step, it's advisable to consult a licensed electrician. By following this step-by-step guide, you'll be able to successfully install European wall switches and enjoy their functional and aesthetic benefits in your home.
 English
  日本語
日本語  français
  Deutsch
  Español
  русский
  português
  العربية
  tiếng việt
  हिंदी
हिंदी  বাঙালি


